Tuesday, January 14, 2014

Cake Mix Cookie Bar Goodness

At work, we have a monthly birthday celebration when we're all encourage to bring treats and sweets if we'd like. We get to celebrate everyone who had a birthday that month and I get to try out new recipes!

This month I decided to try out a simple recipe that had been on my Pinterest 'to-make' board for a while: Cake Mix Cookie Bars! This recipe is so simple! I made mine with a Valentine's Day twist since there were Valentine's Day M&Ms at the grocery store... a few weeks early, but hey, they're cute!


Ingredients
1 box yellow cake mix
1 box instant vanilla pudding
2 eggs
3/4 cup butter, melted
1/4 cup water
1 cup chocolate chips or M&Ms


Preheat oven to 350 degrees. 

3 Simple Steps:

1. Beat 2 eggs and stir in melted butter until well-mixed.
2. Stir in cake mix, pudding mix, and water.
3. Mix thoroughly.

The pudding mix will make the batter really thick.
Make sure to stir it well and get rid of all of the powdery clumps.


Mix in your candy- either chocolate chips or M&Ms.
Spread into a greased pan.


Bake in a 350 degree oven for 25-30 minutes. 

When it's done, it will have a golden top and you can insert a toothpick and it will come out clean.

One thing I may change next time... put the M&Ms or chocolate chips on top of the batter when it's already in the pan since they will sink into the batter when cooking. 


They're yummy and really moist! 


Monday, January 13, 2014

Crock Pot Mac & Cheese

With a new year comes resolutions to eat healthier and cook more meals at home. Cooking more at home gives us the opportunity to use the crock pot more. I love being able to throw all the ingredients into the pot and walk away. 

Tonight we made Slow Cooker Mac & Cheese. Since we are also trying to eat healthier, I took a recipe that I found on Pinterest and made it lighter by using fat free dairy and whole grain pasta. I also added a little bit of ground mustard to give it more flavor. 

The recipe that I adapted was from the Food Network's Tricia Yearwood's Southern Kitchen. 


Ingredients

8 oz. elbow macaroni (i used whole grain), cooked al dente
12 oz. can fat free evaporated milk
1/2 stick of butter
1 teaspoon salt
1/4 teaspoon of black pepper
2 large eggs, beaten 
5 cups fat free cheddar cheese, shredded
1/2 tablespoon ground mustard
dash of paprika

Line your crock pot with disposable liner- these make clean-up a snap and saves so much time scrubbing the pot after cooking a meal all day. 


Combine in crock pot: cooked elbow macaroni, evaporated milk, milk, butter, salt, pepper, ground mustard, beaten eggs, and 4 1/2 cups cheddar cheese. Sprinkle the last 1/2 cup of cheddar cheese on the top of the mixture. To top it off, sprinkle paprika on top. 


Put lid on the crock pot and cook on low for 3 hours and 15 minutes. 

Ours turned out delicious! If we had not used fat free cheddar, it probably would have melted into a creamier consistency. Of course, fat free cheese allows you to feel less guilty about having a bowl of it! 

Sunday, January 12, 2014

Girl's Day Ice Cream

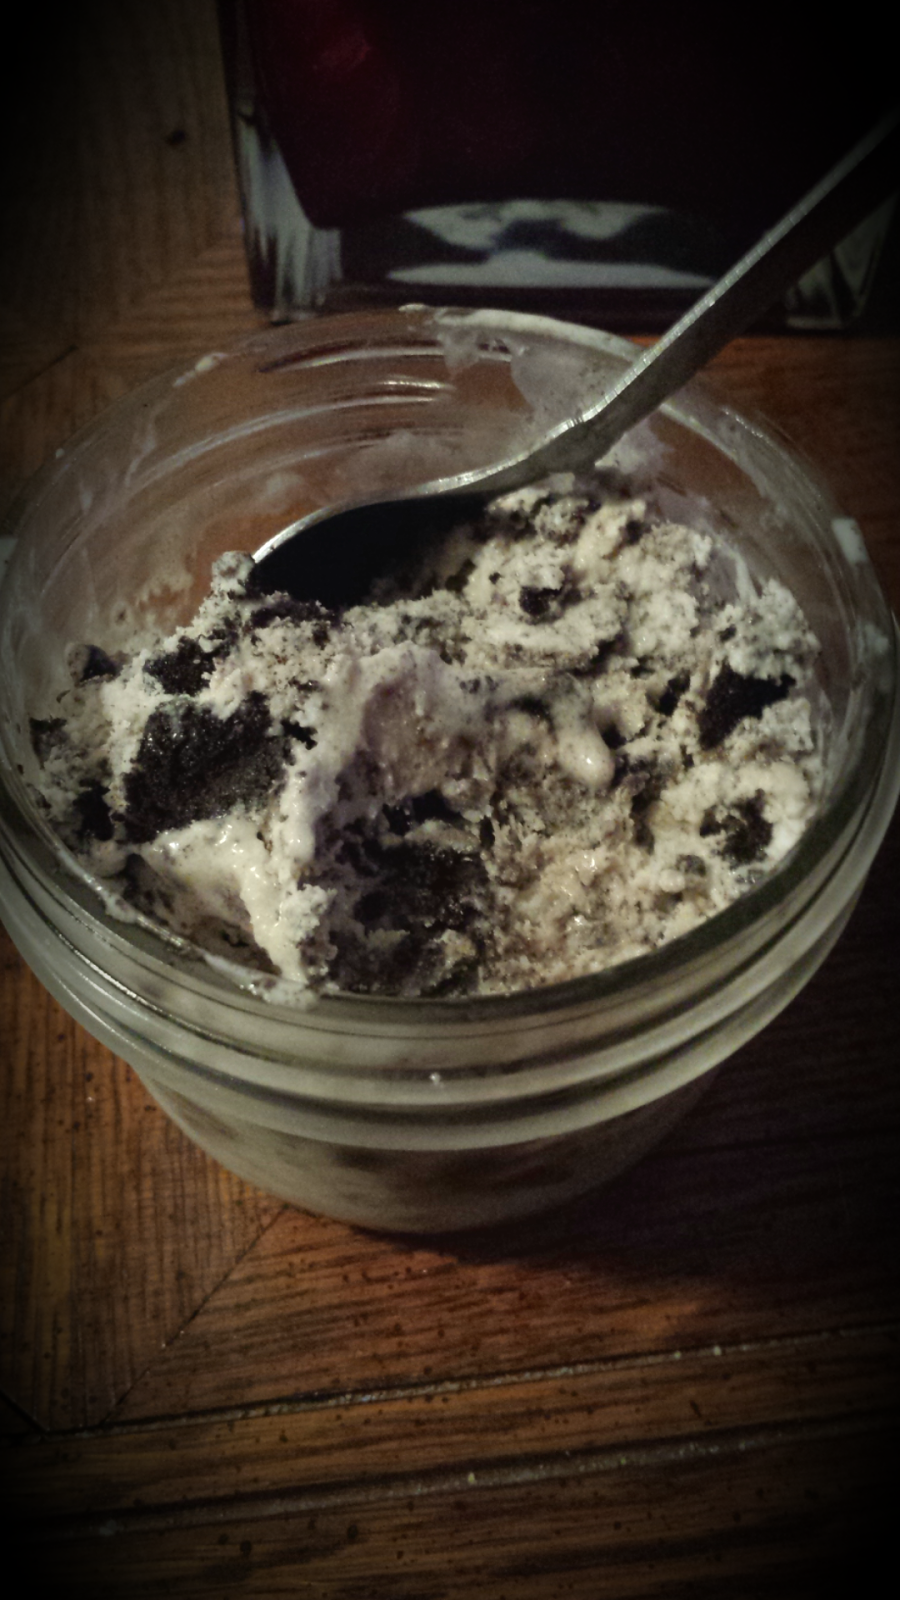
Megan came into town this weekend for a girls day and in addition to seeing Saving Mr. Banks, we also made cookies and cream ice cream with the refurbished Cuisanart ice cream maker that my sister bought for me last year.

I couldn't find the recipe that we used, but the ingredients were:

2 cups heavy cream
1 cup whole milk
1 tsp vanilla
1 cup sugar
15 oreos, chopped

Make sure the bowl from the ice cream maker is in the freezer overnight before you plan on cooking ice cream.

Cook the mixture on the stove until all of the sugar has dissolved. Once dissolved, place the mixture in the freezer until it is chilled. Place mixture in ice cream maker and let it churn for about 30-45 minutes. Right before you take the ice cream out, add the Oreo pieces into the mixture until just all mixed together. Put ice cream into plastic container and place into freezer to finish freezing.

The finished product:


It's pretty bad for you, but it's really good! 

Sunday, January 5, 2014

Peg Board Jewelry Rack

I have been envying some of the jewelry racks that I've been seeing on Pinterest these past few months. With the extra time over holiday break I set out to make one of my own. I got the general idea of what to do from The 36th Avenue. Her's is a part of a bigger accessory station and includes a small dresser for storing scarves and shoes. I created mine a bit different from her, but it still turned out looking great!

Supplies I used:
-1 20x16 black frame from Hobby Lobby
-1 piece of pegboard (just smaller than 20x16 so it will fit into frame)
- metal pegs
- spray paint
- Gorilla Glue or another strong glue
- frame hanging kit

I purchased a 20x16 frame (50%  off sale at Hobby Lobby) and peg board, pegs, and a frame hanging kit at Home Depot. Hobby Lobby will cut the peg board for you if you let them know what size you need- now I have the extra pieces of peg board to use for more projects!

I used some leftover gold spray paint to paint stripes on the board. I used 1" blue painters tape to tape off horizontal stripes and sprayed on two layers of paint before peeling the tape off. I removed the glass and backing from the frame and once the painted peg board was dry (1-2 hours) I used Gorilla Glue (left over from another project) to secure the peg board into the frame. It took about an hour or two for the glue to fully dry- it doesn't need to be Gorilla Glue, just something strong enough to keep the peg board in the frame once there is some jewelry on it. Note: There needs to be about half an inch to an inch of space between the back of the peg board and the wall so pegs can be placed in the board.

Once the glue was dry, I had my boyfriend screw in the frame hangers into the back of the frame, nailed two frame hanging nails into the wall and hung that sucker up. I bought a variety of different pegs to hold different jewelry.

Now all of my jewelry is in one place in my bathroom and I can quickly accessorize in the morning when I'm prepping for work! In the future, I may add a paper-covered can and frame earring holder like the ones from The 36th Avenue, but for now I am just really excited about my new decorative addition!